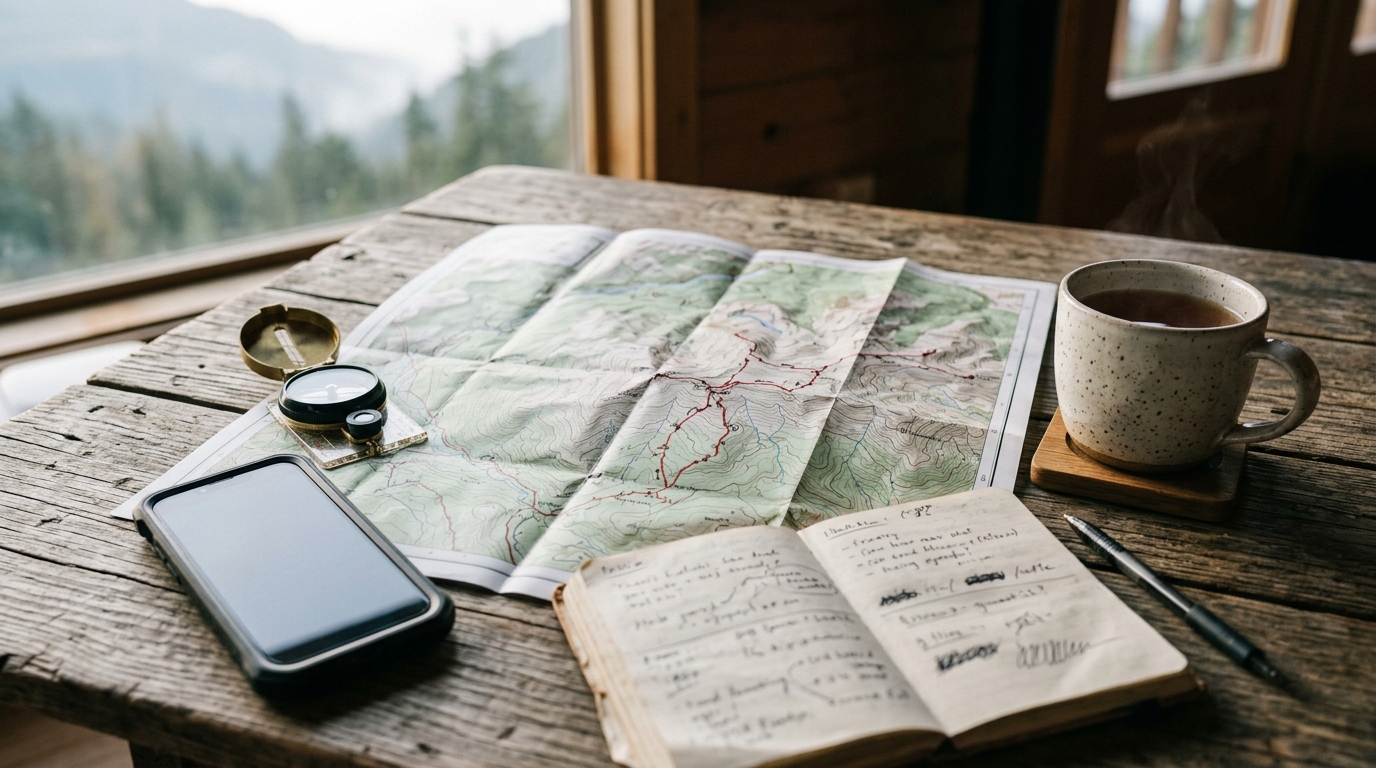
When planning your first few walks, it is easy to look at a map, see a distance of eight kilometres, and assume it will take about two hours. On a flat, paved canal path, it probably will. But if those eight kilometres climb up a steep, rocky hillside in the wind, that estimate quickly falls apart. Understanding trail difficulty for beginners is about looking beyond the total distance to see the full picture of what lies ahead.
Many walk descriptions use simple labels like “easy”, “moderate”, or “difficult”. However, these terms are subjective. A route graded as “easy” by an experienced mountain guide might feel incredibly challenging to someone who has never walked on uneven ground. To plan safely, you need to break down a route into its core components: distance, ascent, terrain, exposure, and navigation.
Key takeaways
- Distance is only one factor: Elevation gain and steepness have a much greater impact on how tired you will feel.
- Terrain dictates your pace: Mud, loose gravel, and wet grass require more effort and concentration than tarmac or gravel paths.
- Exposure changes the risk: High ridges, steep drops, and lack of shelter make a walk significantly harder in poor weather.
- Navigation demands focus: A clear, signposted path is much easier to follow than an overgrown track that requires constant map checking.
Distance and ascent are not the same problem
The most common mistake beginners make is judging a route solely by its length. While walking ten kilometres on flat ground is a straightforward task for most people with basic fitness, adding elevation changes the dynamic completely.
Ascent refers to the total vertical distance you will climb during the walk. When planning, you should look at both the total ascent and how steeply that ascent is distributed. A gradual climb spread over five kilometres is manageable; the same climb packed into one steep kilometre will leave you breathless and fatigue your leg muscles quickly.
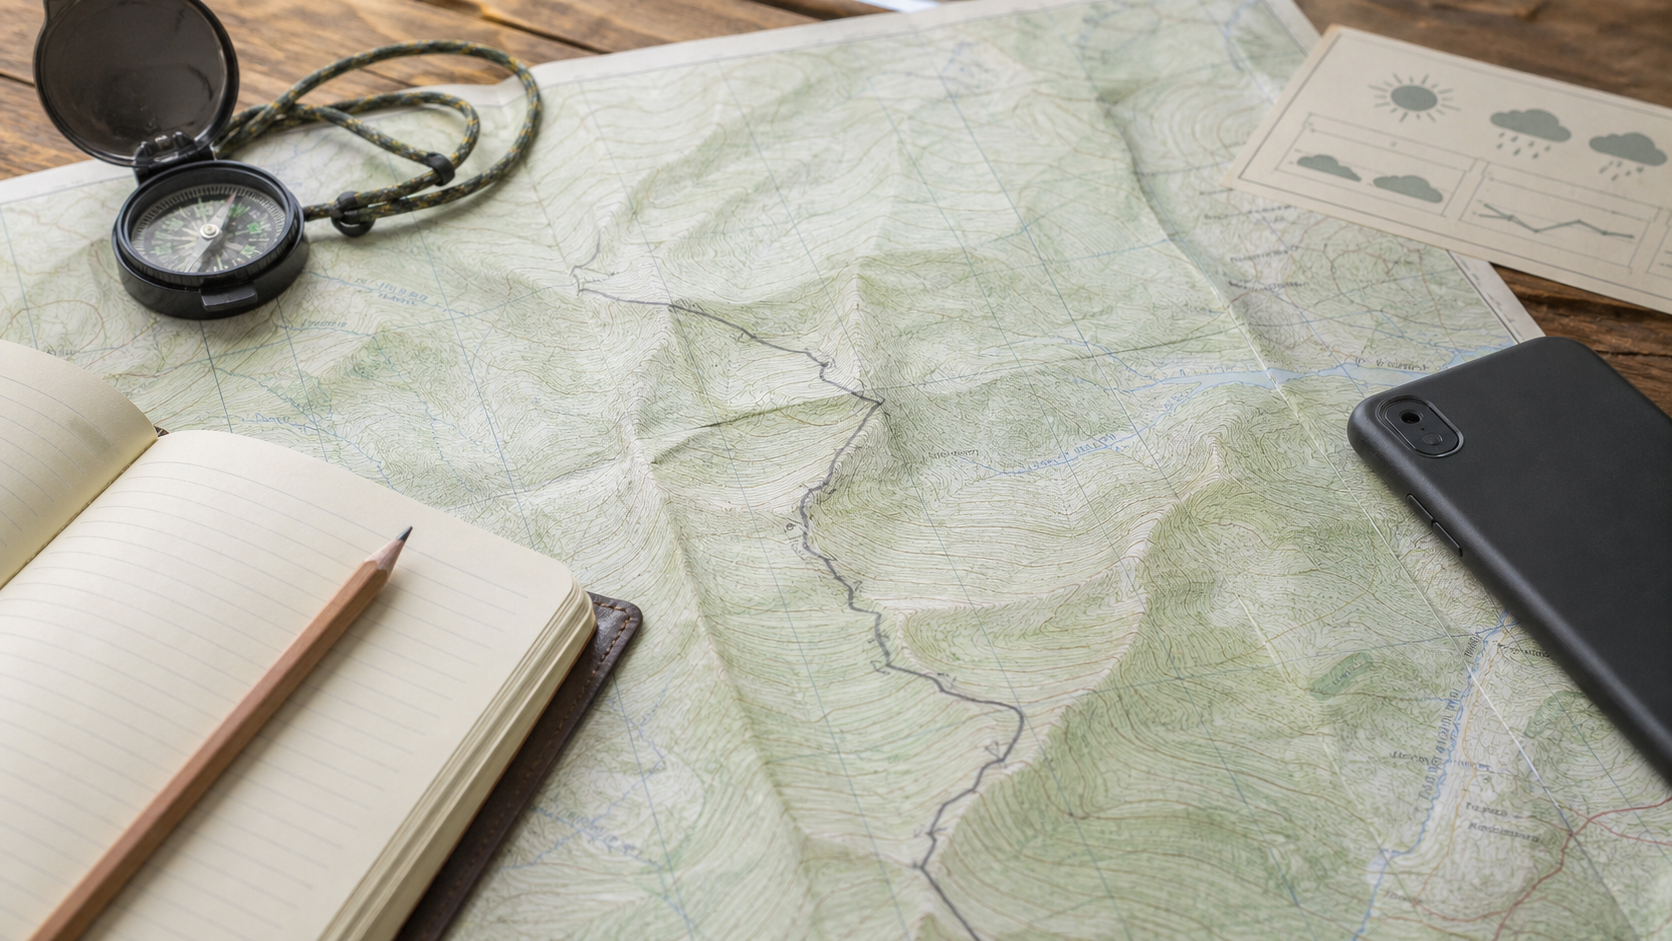
A useful starting point for estimating your time is Naismith rule. This classic formula suggests planning for a walking speed of 4 kilometres per hour, then adding 10 minutes for every 100 metres of ascent. When you are just starting out, it is wise to adjust this to a slower pace, perhaps 3 kilometres per hour, to allow for breaks and photos. Developing good route-planning map habits will help you identify these contour lines before you set off.
Underfoot conditions and surface types
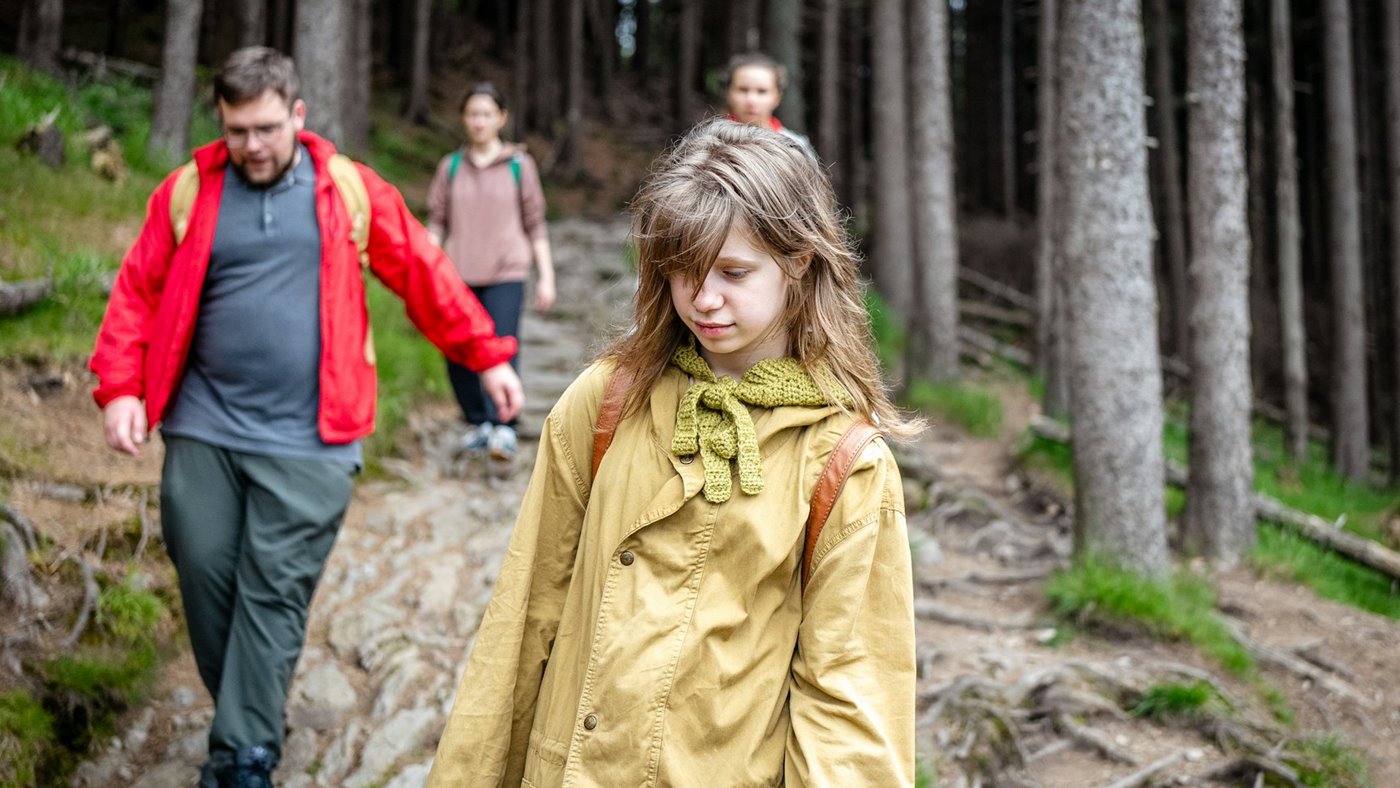
The surface you walk on determines how hard your muscles work and how stable you will feel. A trail with a smooth, hard-packed surface allows for a natural walking rhythm. As the ground becomes more uneven, your pace drops, and your ankles and knees have to work harder to keep you balanced.
For beginners, trail surfaces generally fall into three categories:
- Easy: Tarmac, concrete, well-maintained gravel paths, and boardwalks. These require minimal concentration and standard footwear.
- Moderate: Dirt tracks, grassy paths, shallow mud, and occasional tree roots. You will need shoes with decent grip to prevent slipping.
- Challenging: Loose scree, large boulders, boggy ground, and river crossings. These require sturdy boots, careful foot placement, and often the use of trekking poles for stability.
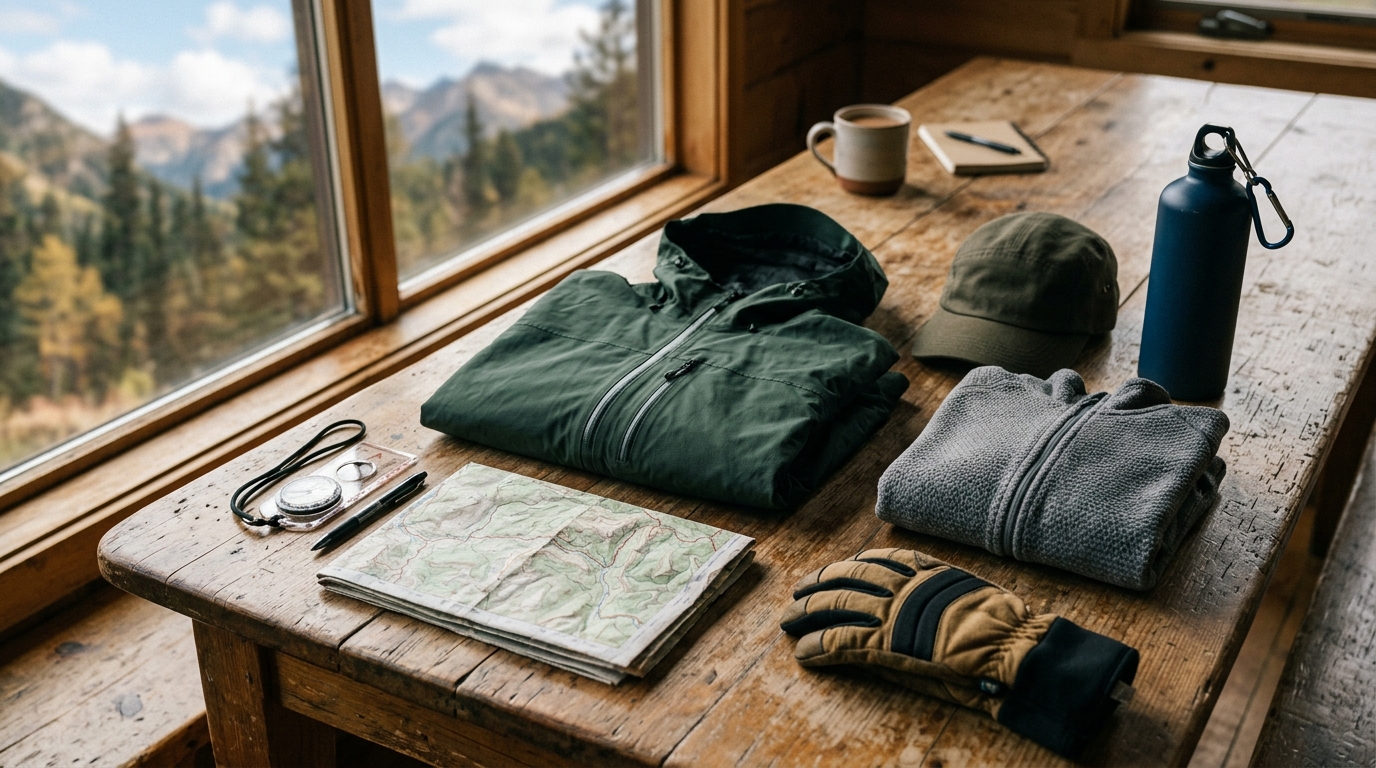
If you are tackling moderate or challenging terrain, having the right footwear and carrying the correct day-hike essentials will make a significant difference to your comfort and safety.
Exposure, weather and navigation load
A trail does not exist in a vacuum. The environment surrounding the path plays a massive role in how difficult the walk feels. Two factors that are often overlooked by beginners are exposure and navigation complexity.
Comparing trail difficulty factors
To help you choose the right walk from our database of routes, use the table below to match your current experience level with the typical characteristics of different trails.
Safety and preparation
Once you have judged the route, prepare for the hardest realistic version of it. If the walk is easy only in dry weather, treat it as a more serious route after rain. If navigation looks simple only because the map line follows a broad ridge, think about what happens in cloud or strong wind.
Beginners should leave generous margins: more daylight than the guidebook suggests, more water than the minimum, and a route that can be shortened without embarrassment. Confidence grows faster when your first walks finish calmly rather than at the edge of your ability.
| Difficulty factor | Beginner-friendly sign | Caution sign |
|---|---|---|
| Distance | Short enough to finish with spare time. | Long return leg after the high point. |
| Ascent | Gradual climbs with clear rest points. | Steep continuous ascent early in the day. |
| Terrain | Firm path, obvious line and limited exposure. | Loose rock, mud, bog or unclear tracks. |
| Navigation | Clear junctions and visible landmarks. | Featureless ground or many faint paths. |
Choose a route that matches the walker you are today. The next harder walk will still be there when your legs, judgement and navigation have caught up.
Use terrain, weather and timing before the kit decision.