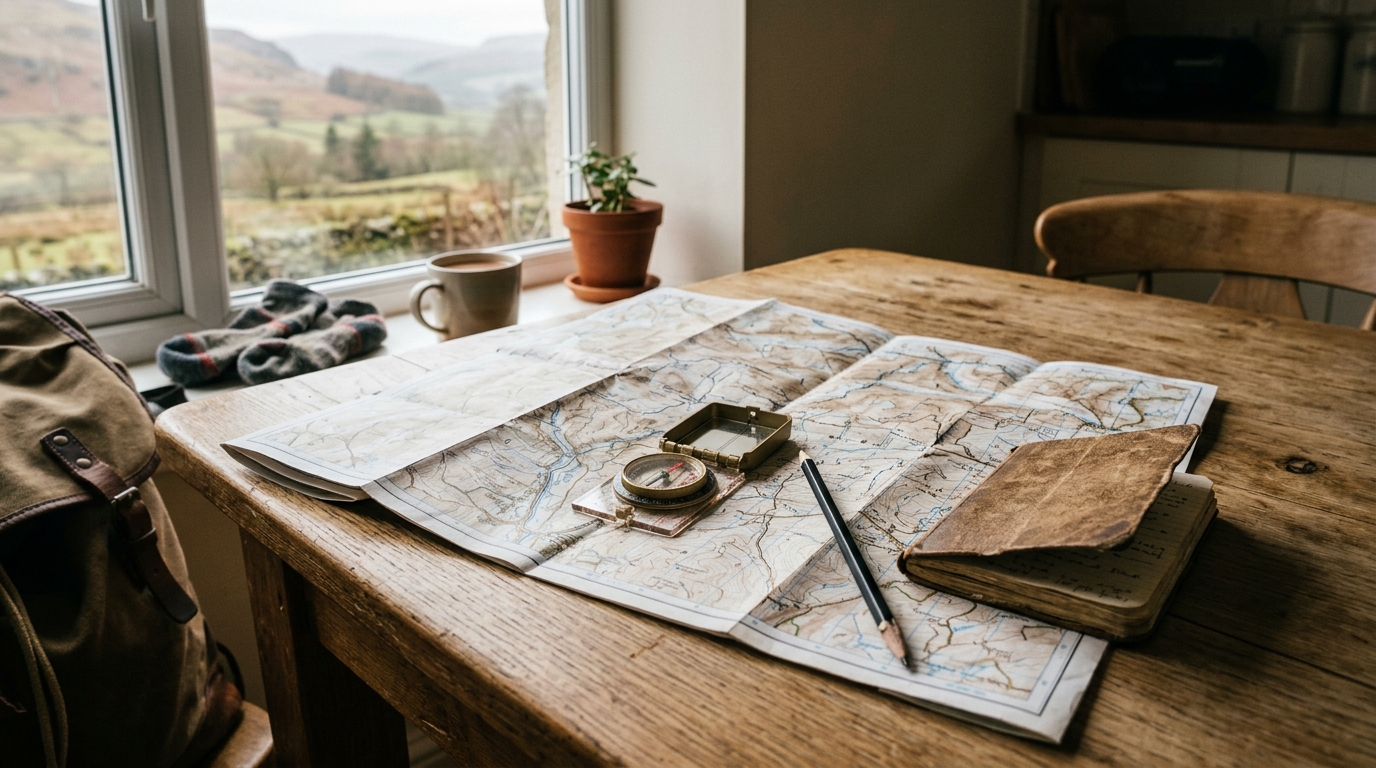
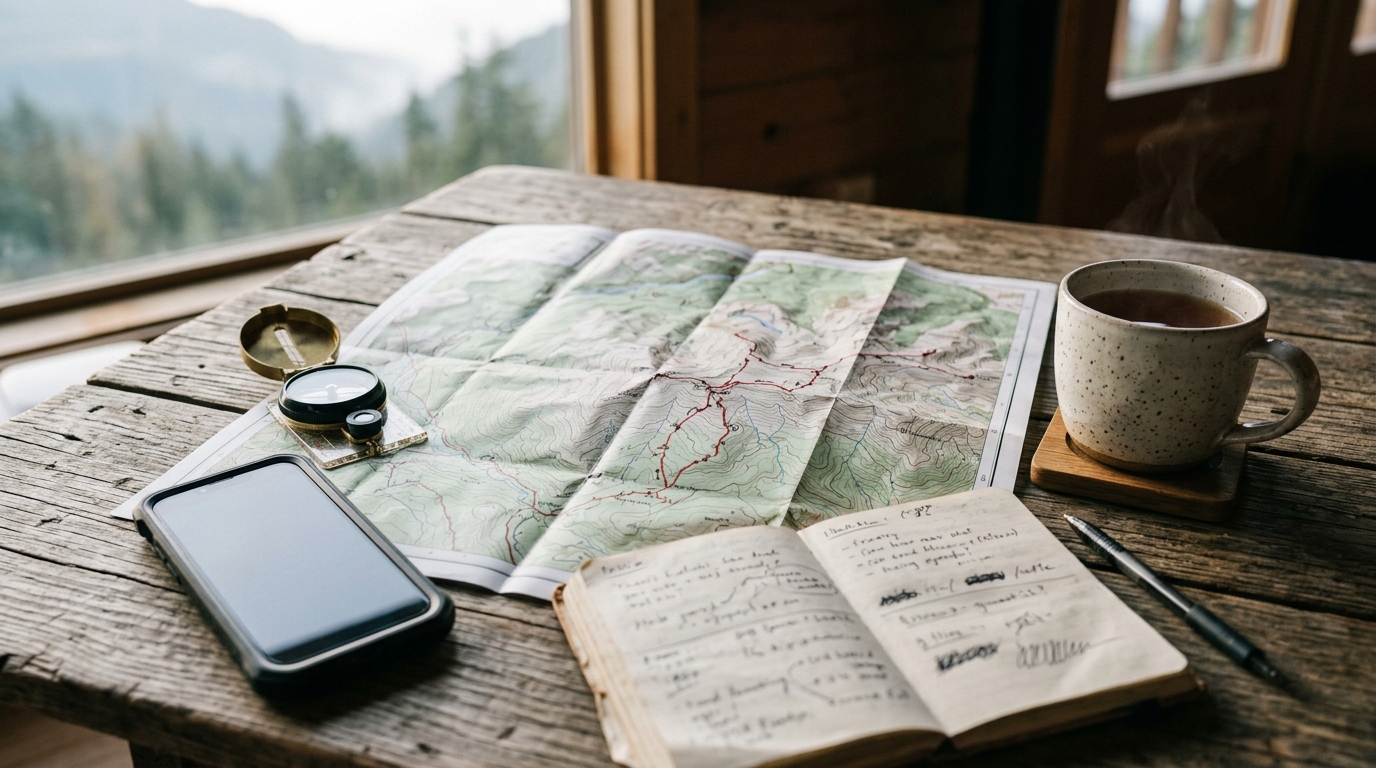
A bad day on the hill rarely starts on the hill itself. More often, it begins at the kitchen table, or rather, with the lack of a structured approach to looking at a map. Getting caught in the dark, finding yourself blocked by an impassable river, or simply running out of energy before the final descent are usually the results of planning gaps rather than pure bad luck.
Effective route planning for hiking is not about hoping for perfect conditions. It is about establishing repeatable habits that remove guesswork. By building a reliable routine around map reading, timing calculations, and fallback decisions, you can spot potential hazards before you leave the house and make sensible adjustments when conditions change.
Key takeaways
- Calculate timing using horizontal distance plus total ascent, not just flat distance.
- Identify specific “decision points” and escape routes on your map before setting off.
- Cross-reference digital GPX tracks with topographic paper maps to spot terrain hazards.
- Adjust your pace expectations to account for group fitness, heavy packs, and underfoot conditions.
1. Establish repeatable map habits
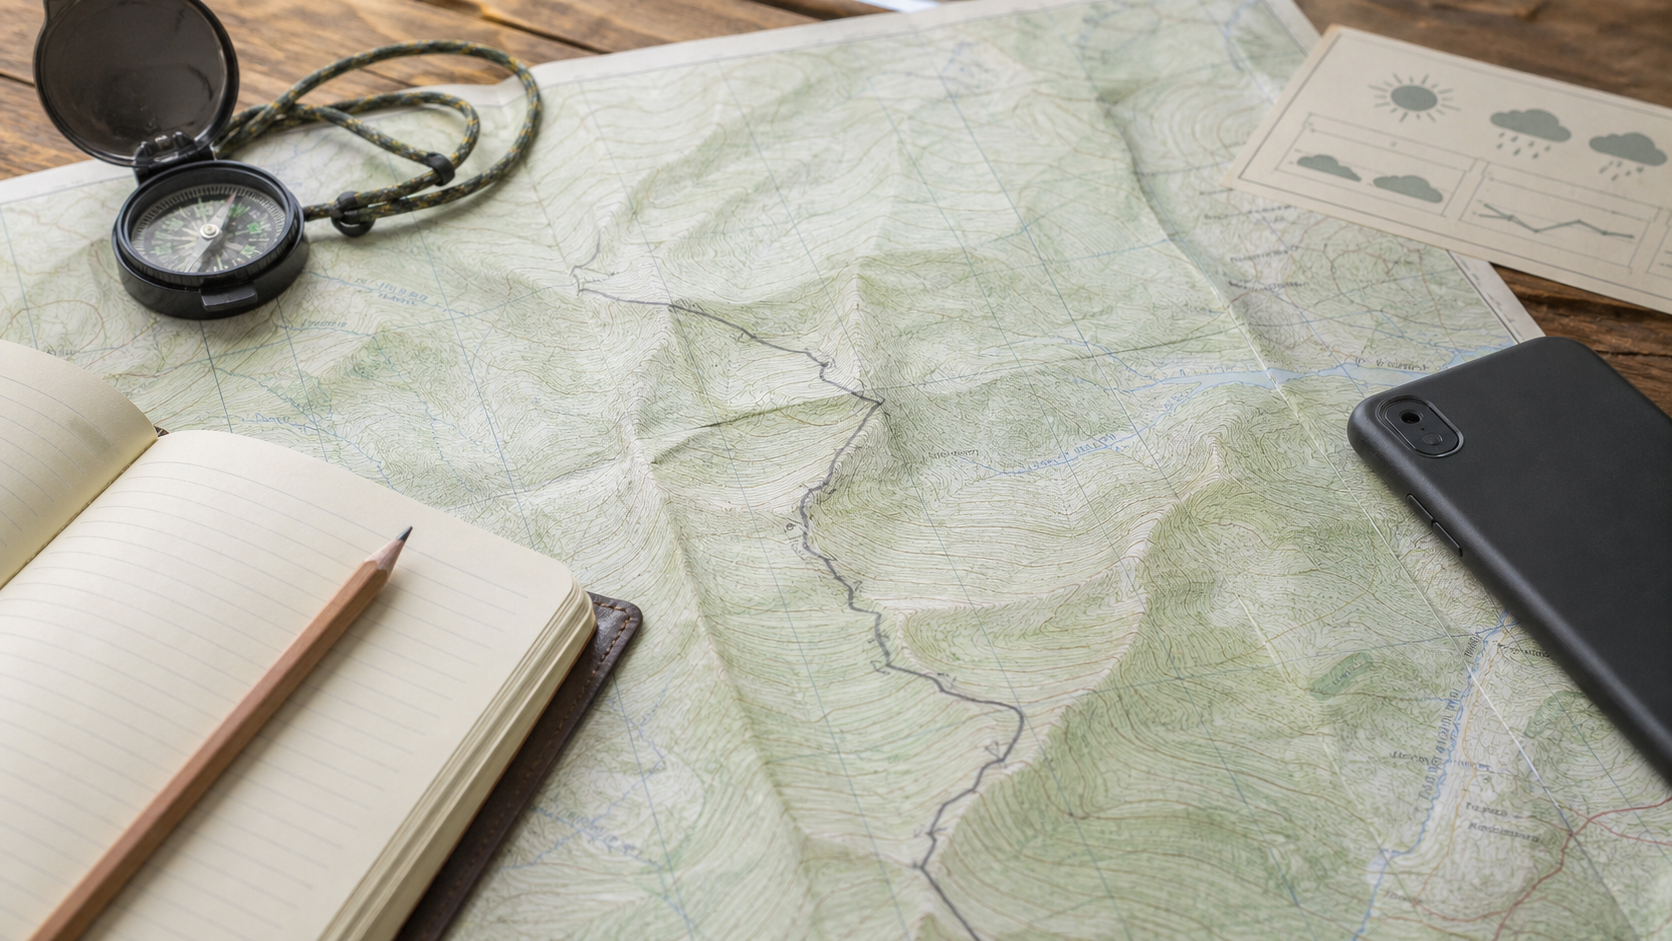
Modern digital mapping tools are excellent for convenience, but relying solely on a blue dot on a screen can lead to tunnel vision. A good route planning habit is to study the wider terrain on a high-quality topographic map before transferring anything to a phone or GPS device. If you are new to navigating, understanding beginner-friendly trail difficulty ratings will help you match the map’s contour lines to your physical capability.
When studying a map, look for three critical terrain features:
- Contour density: Closely packed lines mean steep climbs or drops. Look for areas where the trail crosses these lines directly, which will drastically slow your pace.
- Choke points: Look for narrow ridges, gullies, or river crossings without bridges. These are areas where you cannot easily detour if you encounter an obstacle.
- Catchment features: Identify prominent, unmistakable features like roads, coastlines, or major valleys that run parallel to your route. If you lose your way, knowing which direction to walk to hit a major boundary is a vital backup.
Always carry a physical map and compass alongside your digital devices. Keeping these in your pack is a core part of your day hike essentials, ensuring you are never left stranded by a flat battery or a cold-damaged screen.
2. Calculate realistic timing (Naismith rule and beyond)
One of the most common errors in route planning for hiking is estimating time based on flat walking speeds. A flat pace of 4 or 5 kilometres per hour quickly drops when you add a steep incline, rough scree, or a heavy rucksack.
To calculate a realistic schedule, start with Naismith rule, a classic hillwalking formula:
- Allow 1 hour for every 4 kilometres of horizontal distance.
- Add 1 minute for every 10 metres of ascent.
For example, a 12-kilometre walk with 600 metres of ascent would take roughly 3 hours for the distance, plus 1 hour for the climbing, totalling 4 hours of moving time.
However, this is a baseline for fit walkers in good conditions. You must adjust this estimate upwards if you are walking in winter, carrying overnight gear, or navigating rough, pathless terrain. Always add buffer time for rests, lunch, and navigation checks. Knowing your true speed is essential for matching your walk to the daylight hours available in the local weather window for hikers.
3. Identify decision points and escape routes
A successful route plan is not a single, rigid line from start to finish. It is a series of connected segments separated by “decision points” – specific locations where you stop, assess the situation, and decide whether to proceed, adapt, or turn back.
4. Use a route card to structure your plan
A route card is a simple written plan that breaks a walk into sections. It records distance, ascent, expected time, escape points and notes for each leg. You do not need a formal mountain leader template. A notebook page or phone note is enough if it forces you to think before you arrive at the car park.
| Loose planning | Structured route habit |
|---|---|
| Save a GPX file and follow the line. | Check contours, terrain type, water crossings and exit routes before leaving. |
| Estimate time from distance only. | Add ascent, rough ground, breaks and slower group members into the timing. |
| Decide on the hill when weather changes. | Mark decision points where you can shorten the walk without improvising. |
| Carry one navigation tool. | Use paper map, compass, phone route and battery backup as separate layers. |
Good route planning should feel slightly boring. That is the point. The more decisions you make at home, the fewer you have to make when you are cold, tired, hungry or looking at low cloud rolling across the path.

Use terrain, weather and timing before the kit decision.