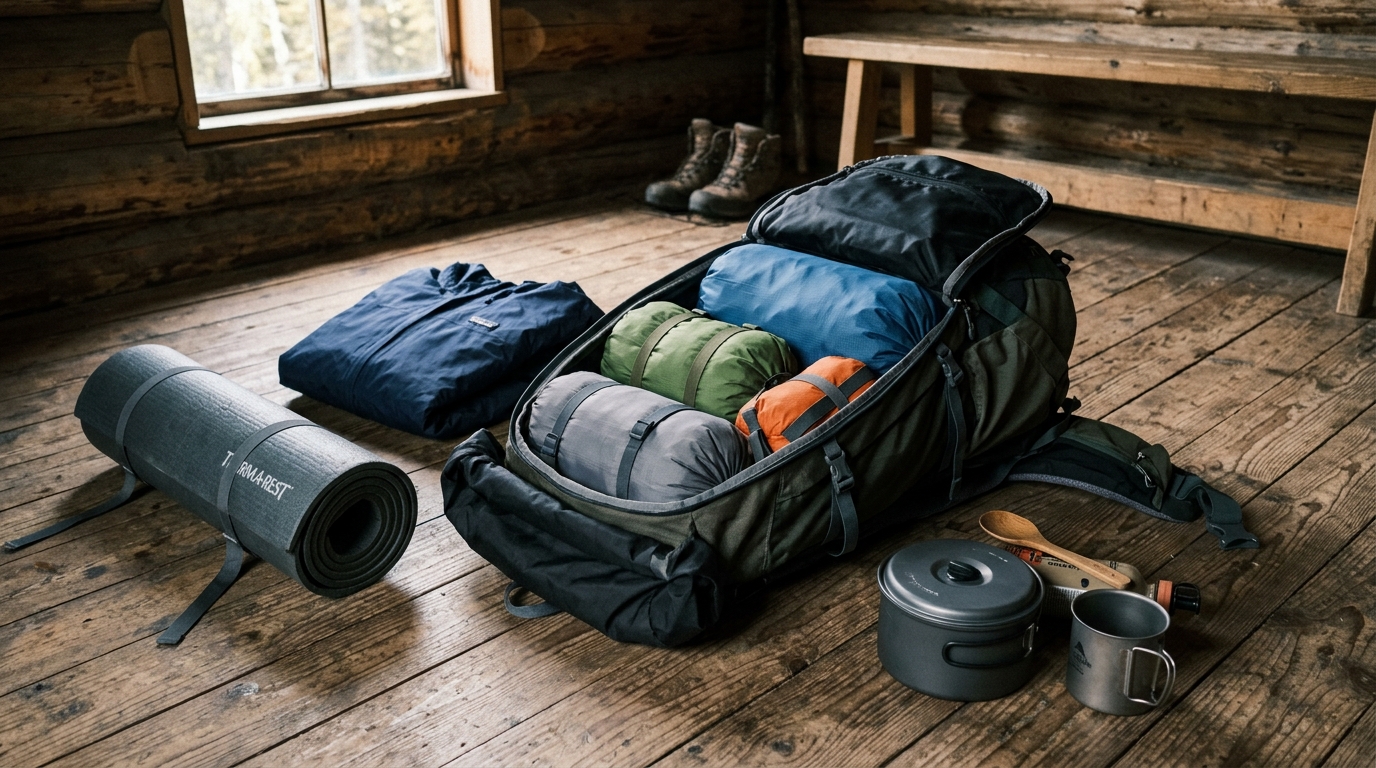
When you are three days into a wilderness route, a chaotic rucksack is more than a minor annoyance. Rummaging through a disorganised pack in the rain to find a headlamp or a dry pair of socks wastes time and lets moisture inside. A structured multi day trek packing system prevents this. By organising your gear into distinct, functional modules, you can find what you need instantly, protect critical equipment from the weather, and maintain a balanced load on rough terrain.
Before you start buying lightweight gear, it is worth looking at how you pack what you already own. Our guide to hiking gear covers the basics of choosing equipment, but how you arrange those items inside your pack is just as important for comfort and safety on the trail.
Key takeaways
- Organise by function: Group gear into colour-coded dry bags based on their job (e.g., sleep, cook, wear).
- Keep wet and dry separate: Use a main pack liner for dry gear, and keep wet tents or waterproofs outside of it.
- Distribute weight logically: Place heavy items close to your spine at mid-back height to maintain your centre of gravity.
- Prioritise accessibility: Keep navigation tools, first aid, and trail snacks in outer pockets for quick access.
Pack by job, not by category
Instead of throwing loose items into your rucksack, think of your pack as a chest of drawers. Every item should belong to a specific module or dry bag. This modular approach makes packing and unpacking at camp straightforward, even in poor weather.
For a standard multi-day trip, you can divide your gear into five main modules:
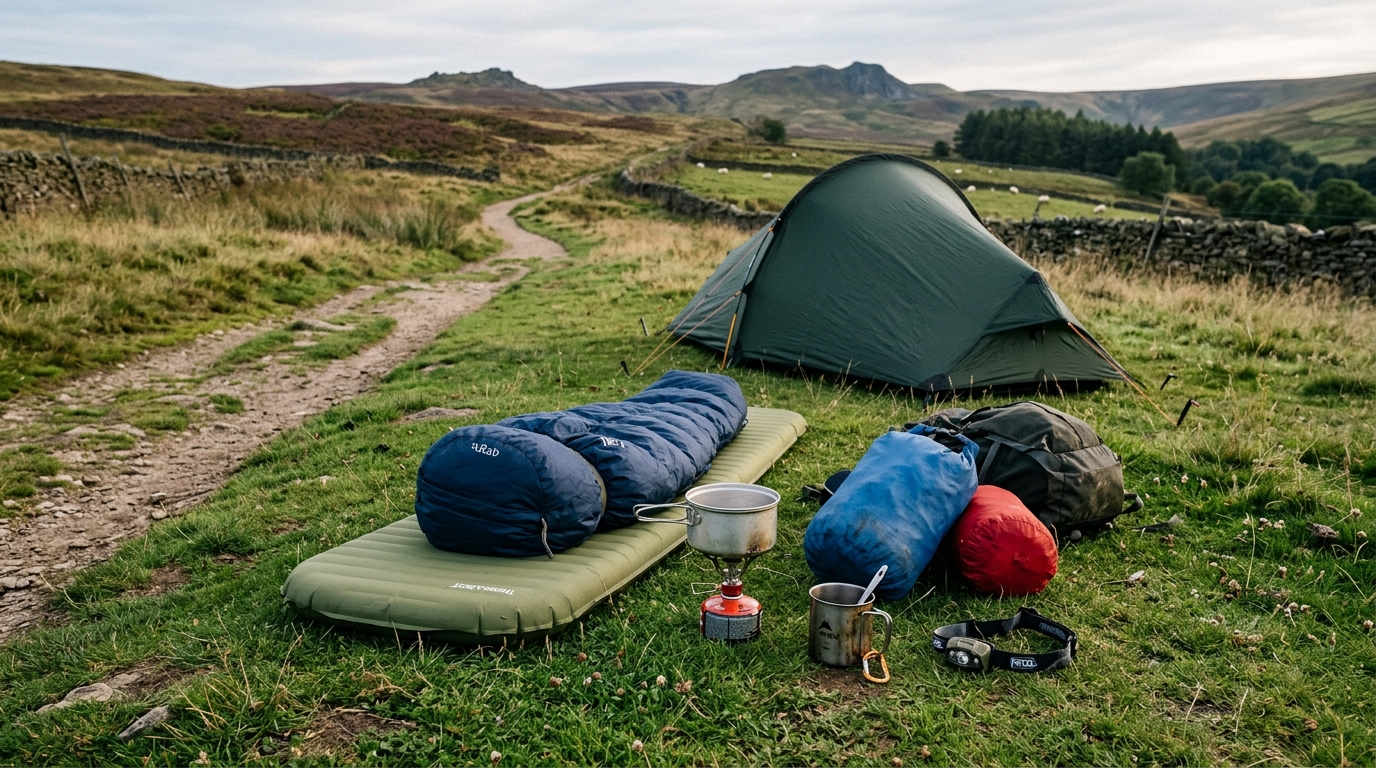
- Sleeping: Sleeping bag, mat, pillow, and dry sleep clothing.
- Cooking and Food: Stove, fuel, pot, utensils, and food rations.
- Clothing: Spare layers, warm jacket, and dry socks.
- Electronics and Valuables: Power bank, cables, headlamp, and spare batteries.
- First Aid and Hygiene: Trowel, toilet paper, hand sanitiser, and medical kit.
Using lightweight dry bags in different colours helps you identify the right module instantly. For example, you might use a red bag for first aid, blue for sleep gear, and green for food. When planning your trip, you can cross-reference these modules with our first weekend camp checklist to ensure you have not missed any essentials.
Wet and dry separation
Water management is one of the most critical aspects of a multi day trek packing system. A wet sleeping bag or down jacket can quickly lead to hypothermia in cold conditions. Relying solely on an external pack cover is a common mistake; wind can blow rain behind the cover, and fabric can soak through during prolonged downpours.
The most reliable defence is to use a heavy-duty pack liner (or a heavy-duty rubbish bag) inside the main compartment of your rucksack. Everything that must stay dry – your sleeping bag, spare clothes, and electronics – goes inside this liner.
Items that are already wet, or likely to get wet, must stay outside the liner. If you have to pack up a wet tent in the morning, store the wet flysheet in the outer mesh pocket of your pack or in a separate compartment at the very bottom, outside the main dry liner. This prevents moisture from transferring to your dry gear. For more advice on managing challenging conditions, read our guide on choosing a weather window for hikers and planning your trip accordingly.
A three-tier loading strategy
How you distribute weight affects your balance and how heavy the pack feels on your shoulders. A poorly balanced pack pulls you backward or sways, causing fatigue and instability.
To prevent this, load your pack using a three-tier strategy:
1. The Bottom Zone (Light & Bulky)
Place lightweight, bulky items here that you will not need until you pitch camp. Your sleeping bag (inside its dry bag) and sleeping mat are ideal for the bottom. This creates a stable base for the rest of your gear.
2. The Middle Zone (Heavy & Dense)
3. The Top Zone (Medium Weight & Frequent Access)
2. The middle zone: heavy and dense items
The middle of the pack, close to your spine, is where dense items belong. Food bags, stove fuel and water should sit here so the load stays stable when you step over rocks or lean into a climb. If heavy items sit too far from your back, the pack pulls against your shoulders and wastes energy all day.
3. The top zone: medium weight and frequent access
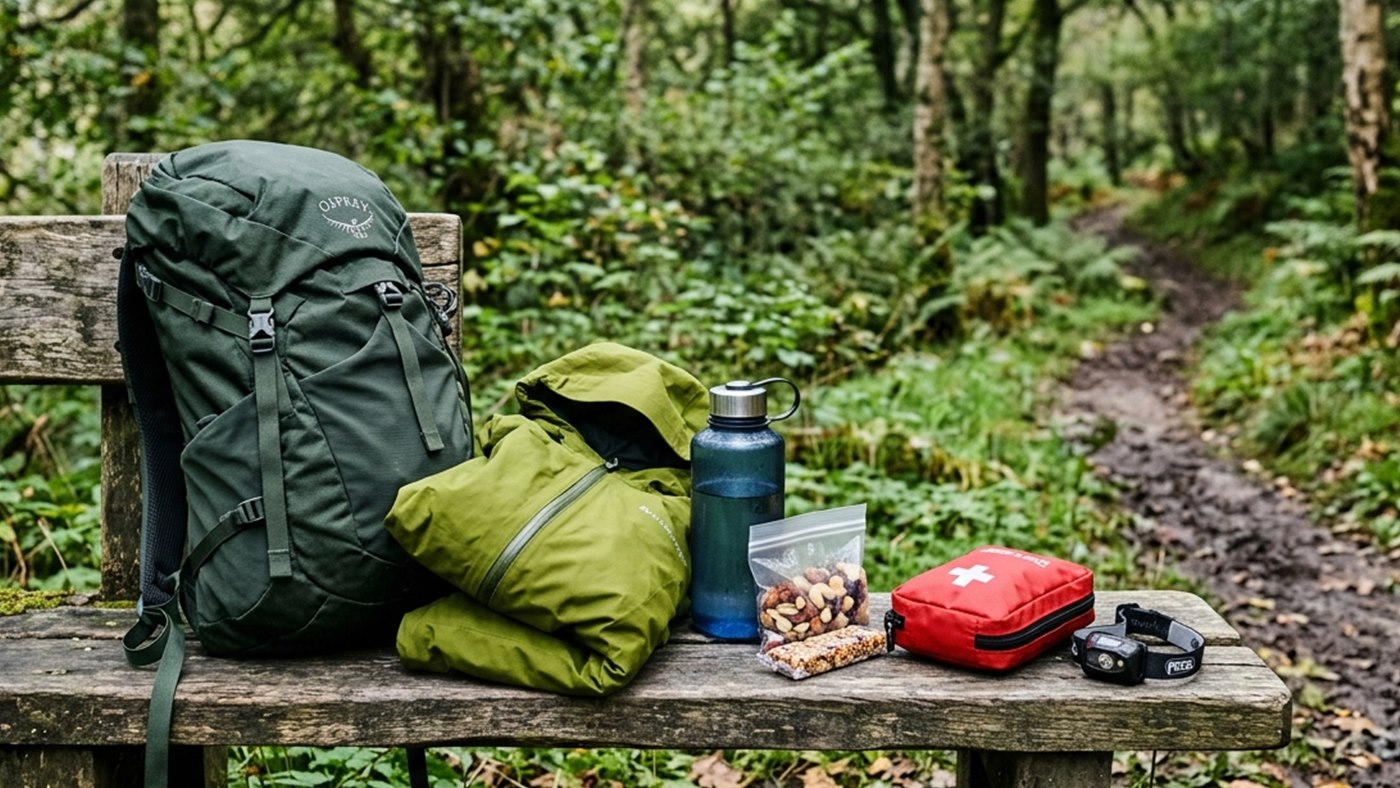
The top of the pack is for items you may need before camp: waterproof jacket, warm layer, first aid pouch, map case, snacks and headtorch. These should be easy to reach without opening every dry bag. If rain starts, you want waterproofs in seconds, not after a full unpack.
| Pack area | Best contents | Reason |
|---|---|---|
| Bottom | Sleeping bag, sleep clothes and soft bulky items. | Builds a stable base and keeps dry kit protected. |
| Middle | Food, stove, fuel and water if carried inside. | Keeps weight close to your centre of gravity. |
| Top | Waterproofs, insulation, first aid, snacks and headtorch. | Reduces rummaging during weather changes or delays. |
| Outside | Wet tent fly, poles, water bottle or sit mat. | Keeps wet or awkward items away from dry clothing. |
After each trip, note what you used, what stayed buried and what caused friction. A packing system improves fastest when it is adjusted from real walks rather than copied from someone else list.
Use terrain, weather and timing before the kit decision.