Every experienced hiker knows the frustration of a cancelled trip due to bad weather. However, waiting for a perfectly cloudless, warm day often means you will rarely leave the house. The key to successful hillwalking is learning how to identify and utilise a weather window.
A weather window is a temporary period of manageable, safe conditions bookended by poorer weather. It is not necessarily a guarantee of sunshine; rather, it is a slot of time where the risks are low enough to complete your planned walk safely. Understanding how to spot these windows, and adjusting your plans to fit them, is a core skill for mountain safety.
Key takeaways
- A weather window is a specific timeframe of benign weather, not necessarily a perfect day.
- Wind speed, rain timing, visibility, and temperature must be assessed together, not in isolation.
- Always align the length of your route with the estimated duration of the weather window.
- Be prepared to shorten your route or use escape paths if the window closes faster than forecast.
What a weather window means for hikers
In meteorological terms, a weather window is a gap between weather fronts. In the UK and northern Europe, weather systems move quickly. A heavy band of rain might clear by midday, leaving a four-hour gap of dry weather and clear spells before the next front arrives.
For hikers, identifying this gap allows you to plan your start time, ascent, and descent to match the best conditions. Understanding a weather window for hikers means looking past the general icon on a phone app and studying the hourly breakdown of wind, precipitation, and cloud base height.
Four variables to assess
When looking at mountain forecasts, you need to evaluate four main factors to decide if a window is viable for your chosen walk.
1. Wind speed and gust frequency
Wind is often the most critical factor in the hills. While rain is uncomfortable, high winds can be physically dangerous, making walking difficult and increasing the risk of falls on exposed ridges. Look at both the sustained wind speed and the gust speed. As a rule of thumb:
- Under 20 mph (32 km/h): Generally comfortable walking.
- 20 to 30 mph: Noticeable resistance; balance can be affected on ridges.
- Over 40 mph: Difficult to walk in; pack weight can act as a sail. High risk of being blown off balance.
If your weather window shows wind dropping from 40 mph to 15 mph for a few hours in the afternoon, that afternoon is your window.
2. Rain timing and fronts
Look at the timing and probability of precipitation. A forecast showing “80% chance of rain” might look off-putting, but if that rain is concentrated between 08:00 and 10:00, you may have a clear window from 11:00 onwards. Conversely, if a heavy front is due to arrive at 14:00, you must ensure you are off the high ground and heading back to safety before it hits.
3. Visibility and cloud base
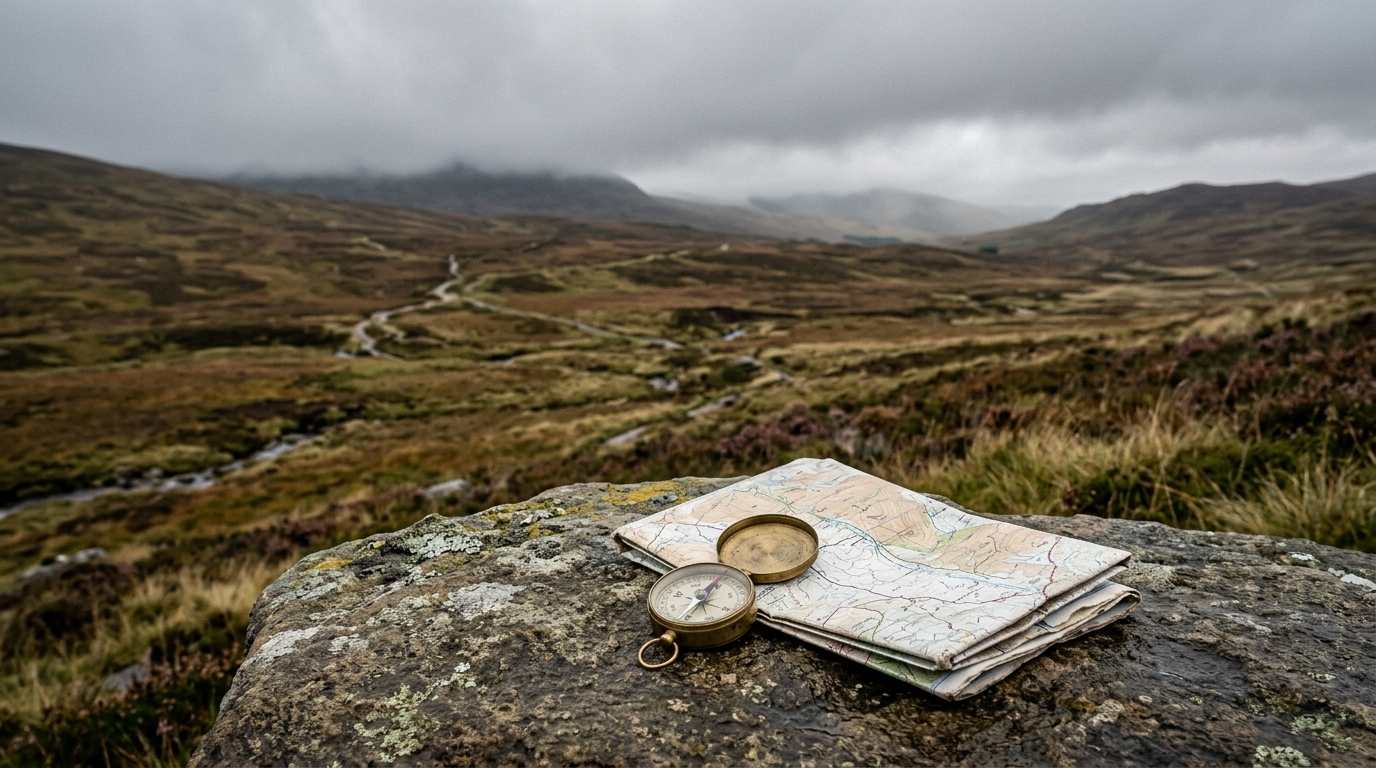
Low cloud can turn a straightforward walk into a complex navigation exercise. Check the forecast cloud base height against the altitude of your planned summit. If the summit is at 900 metres and the cloud base is forecast at 600 metres, you will be walking in mist. If you are confident in navigation, this might not stop you, but if you want views or have less experience, you should look for a window where the cloud base rises above the summits.
4. Temperature and wind chill
Air temperature drops by roughly 1°C for every 150 metres of ascent. When you add wind chill, a pleasant 10°C in the valley can feel like sub-zero on the summit. Ensure you pack the correct day hike essentials, including windproof layers and warm hats, to cope with the temperature inside your window.
Adapting your route to the forecast
Once you have identified the timing of the weather window, you must adapt your route to fit it. Do not try to force a long, demanding walk into a short, unstable window. Instead, adjust your planned routes to match the time available.
Weather window decision matrix
Use the forecast to decide what kind of walk the day can support. Do not treat a short dry spell as permission to force a long ridge route. A weather window is useful only when the walk fits inside it with spare time for slower ground, navigation errors and tired legs.
| Forecast pattern | Best route response |
|---|---|
| Dry for most of the day, moderate wind, good visibility. | Proceed with the planned route if timing still leaves a margin. |
| Short dry gap between rain bands. | Choose a shorter low-level loop with a clear exit. |
| High wind on summits but calmer valleys. | Avoid ridges and exposed cols; use woodland, valley or coastal alternatives. |
| Low cloud with uncertain clearance. | Pick routes with strong navigation features and avoid complex ground. |
The safest weather call is often made before travel. If the forecast demands constant optimism, choose a different route or a different day.
Use terrain, weather and timing before the kit decision.